

Usages
This content is not available in your language yet.
Project Page
Section titled “Project Page”Project is an abstraction for a resources this include CPUs, memory, GPUs, and storage. Users cannot allocate more resources that it is available.

It will show all the tasks that belong to this project and resources that have been allocated to this project.
There are currently 2 templates available on Apex.
Code Server: Which is a VSCode on a web browser. This is recommended for general tasks.NeMo: Those who want to use the NeMo can use this template to run a NeMo stack with a VSCode interface.
Create Task
Section titled “Create Task”All the tasks are belong to a Project. Users can create task with a GPU by click the create task menu and select the template.
After create a task, it will show a Pending status while it is being create. After finished, it will change to Running status and user can click Open to access the task.
If you stop the Task, currently it won’t be able to restart it.
Volume
Section titled “Volume”We support volume for persistent storage. Volumes are project-scoped, so every tasks in the project can mount volume to it.
A shared volume is bound to a project, not to a task. This means you can create a new task and attach an existing volume to it, and your data will still be there under the same mount path. The data is not deleted when a task is stopped or removed — it is only lost if you delete the project or the shared volume itself.
Working with volumes has two parts: managing the volumes of a project, and using them in a task.
Managing volumes
Section titled “Managing volumes”-
Open the sidebar menu and select the
Volumesubmenu of your project.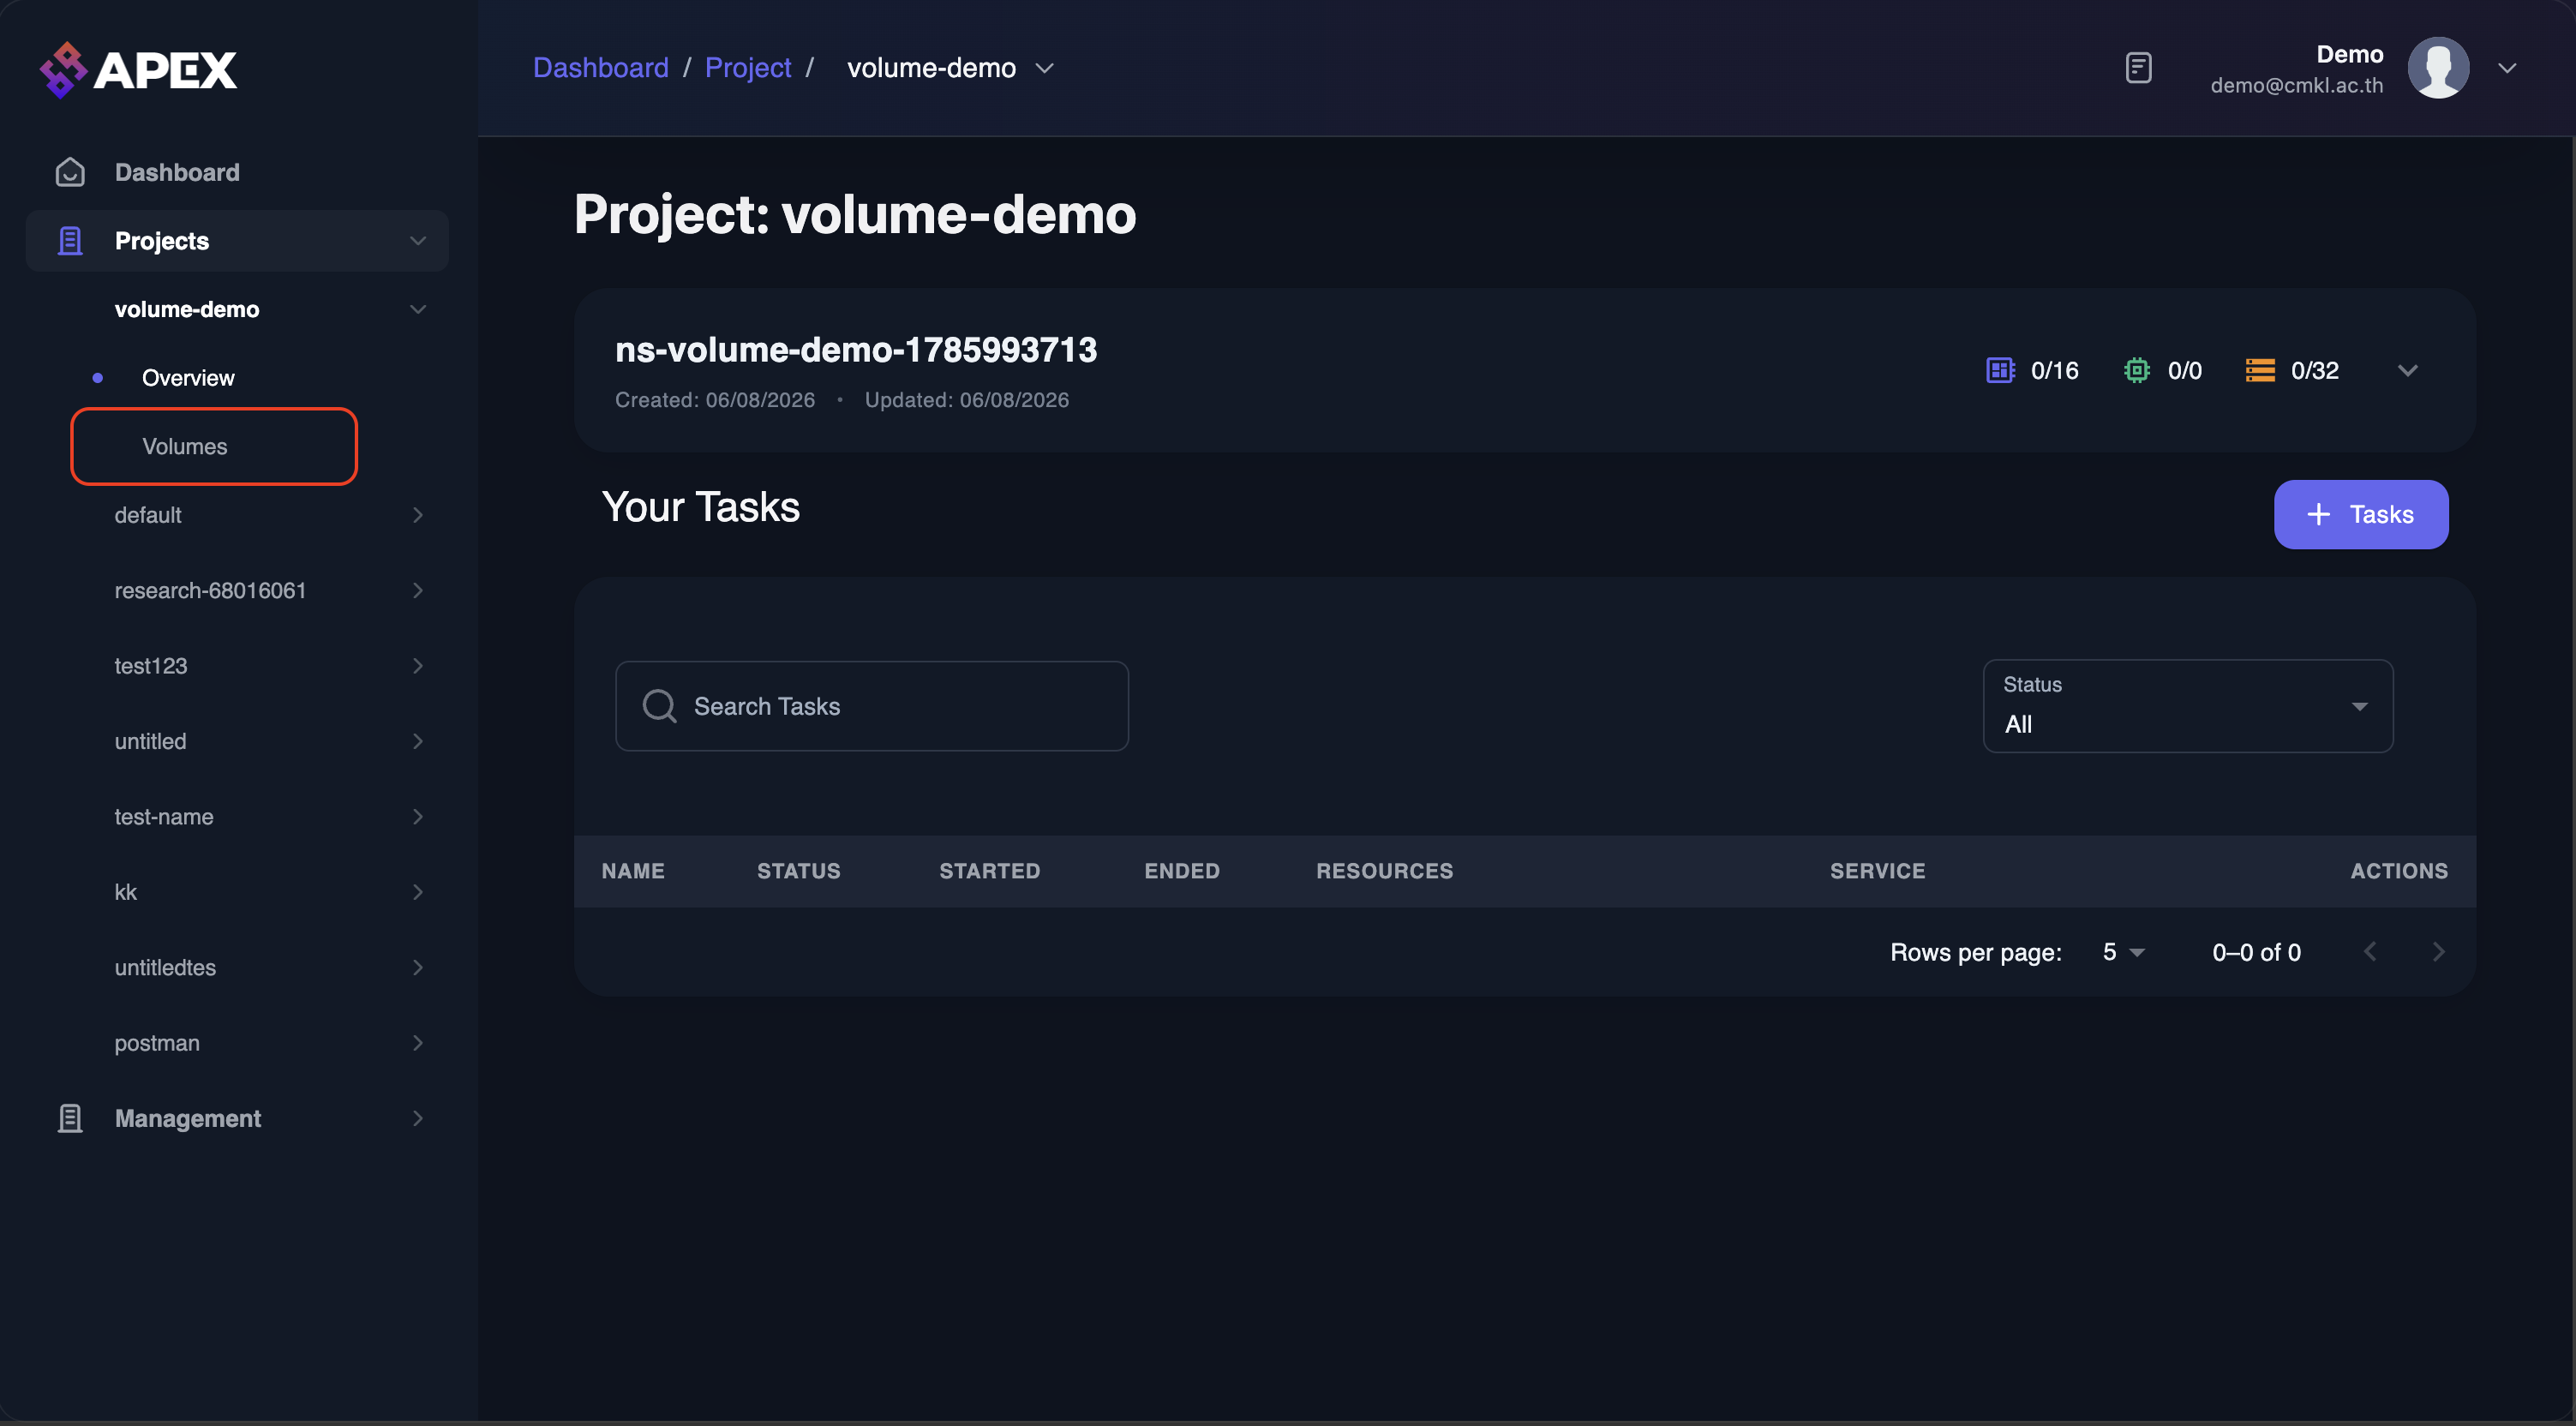
-
Click
Addto create a new volume. A popup will appear.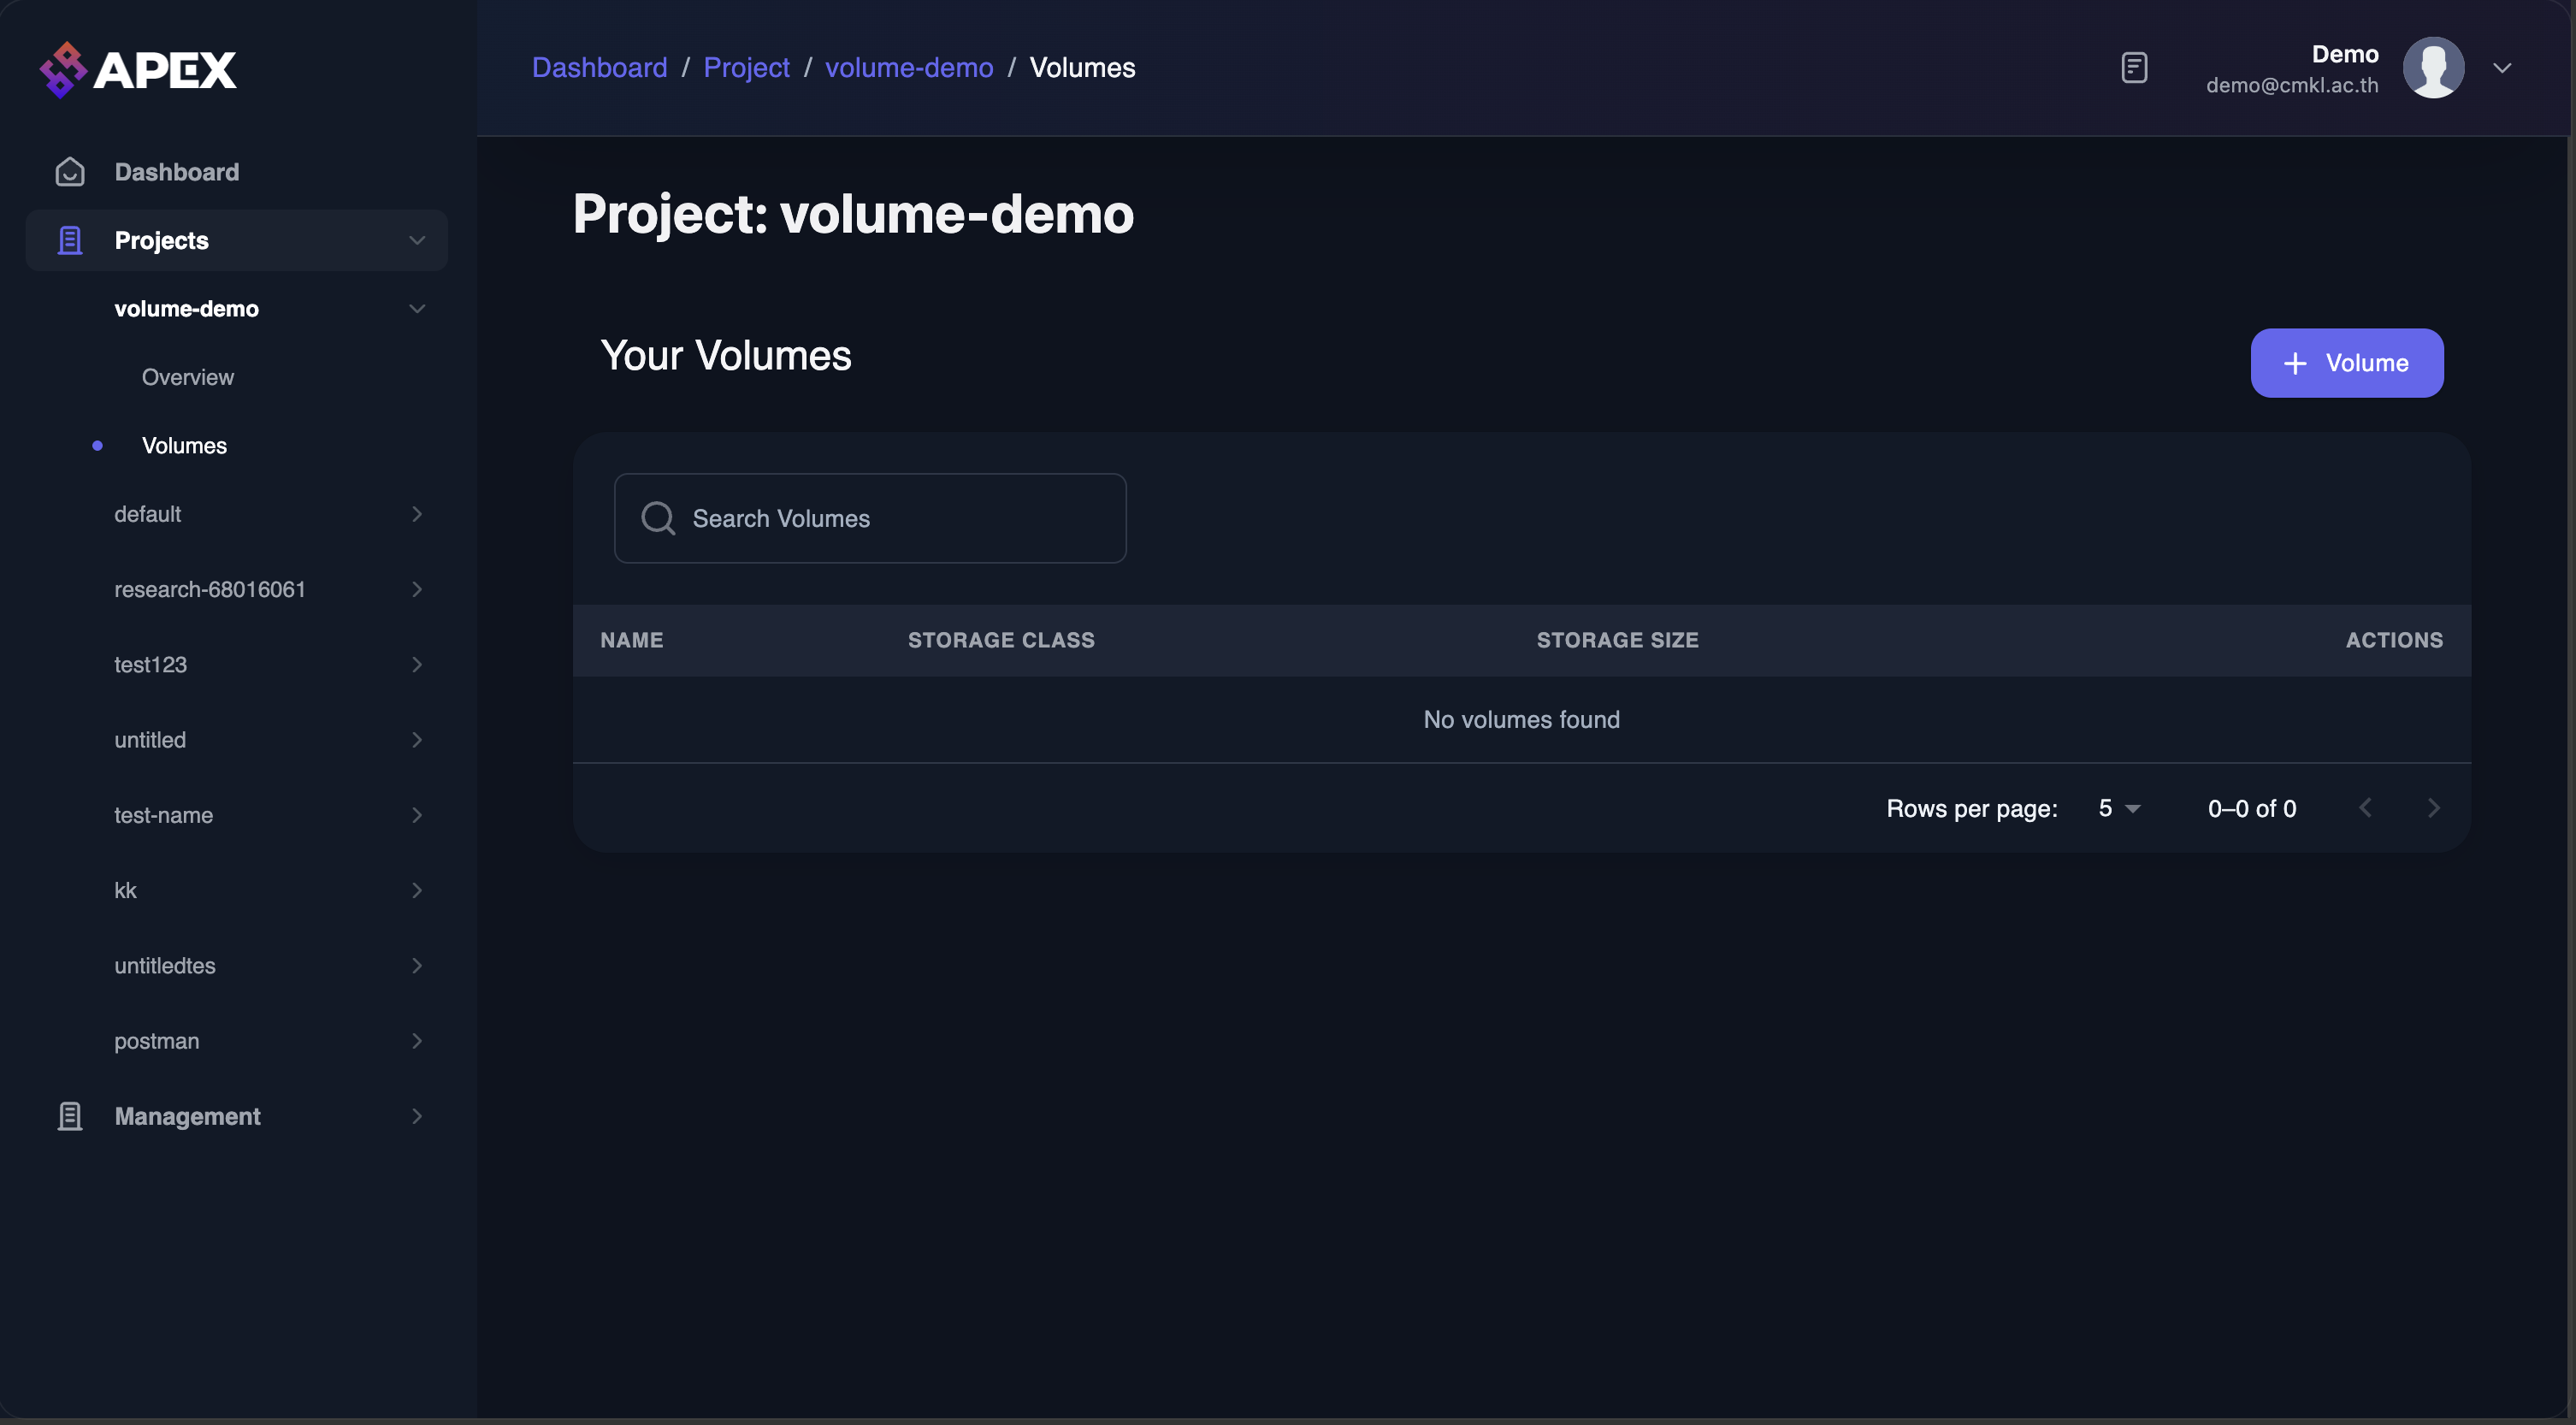
-
Fill in the form (the volume name), then click
Create.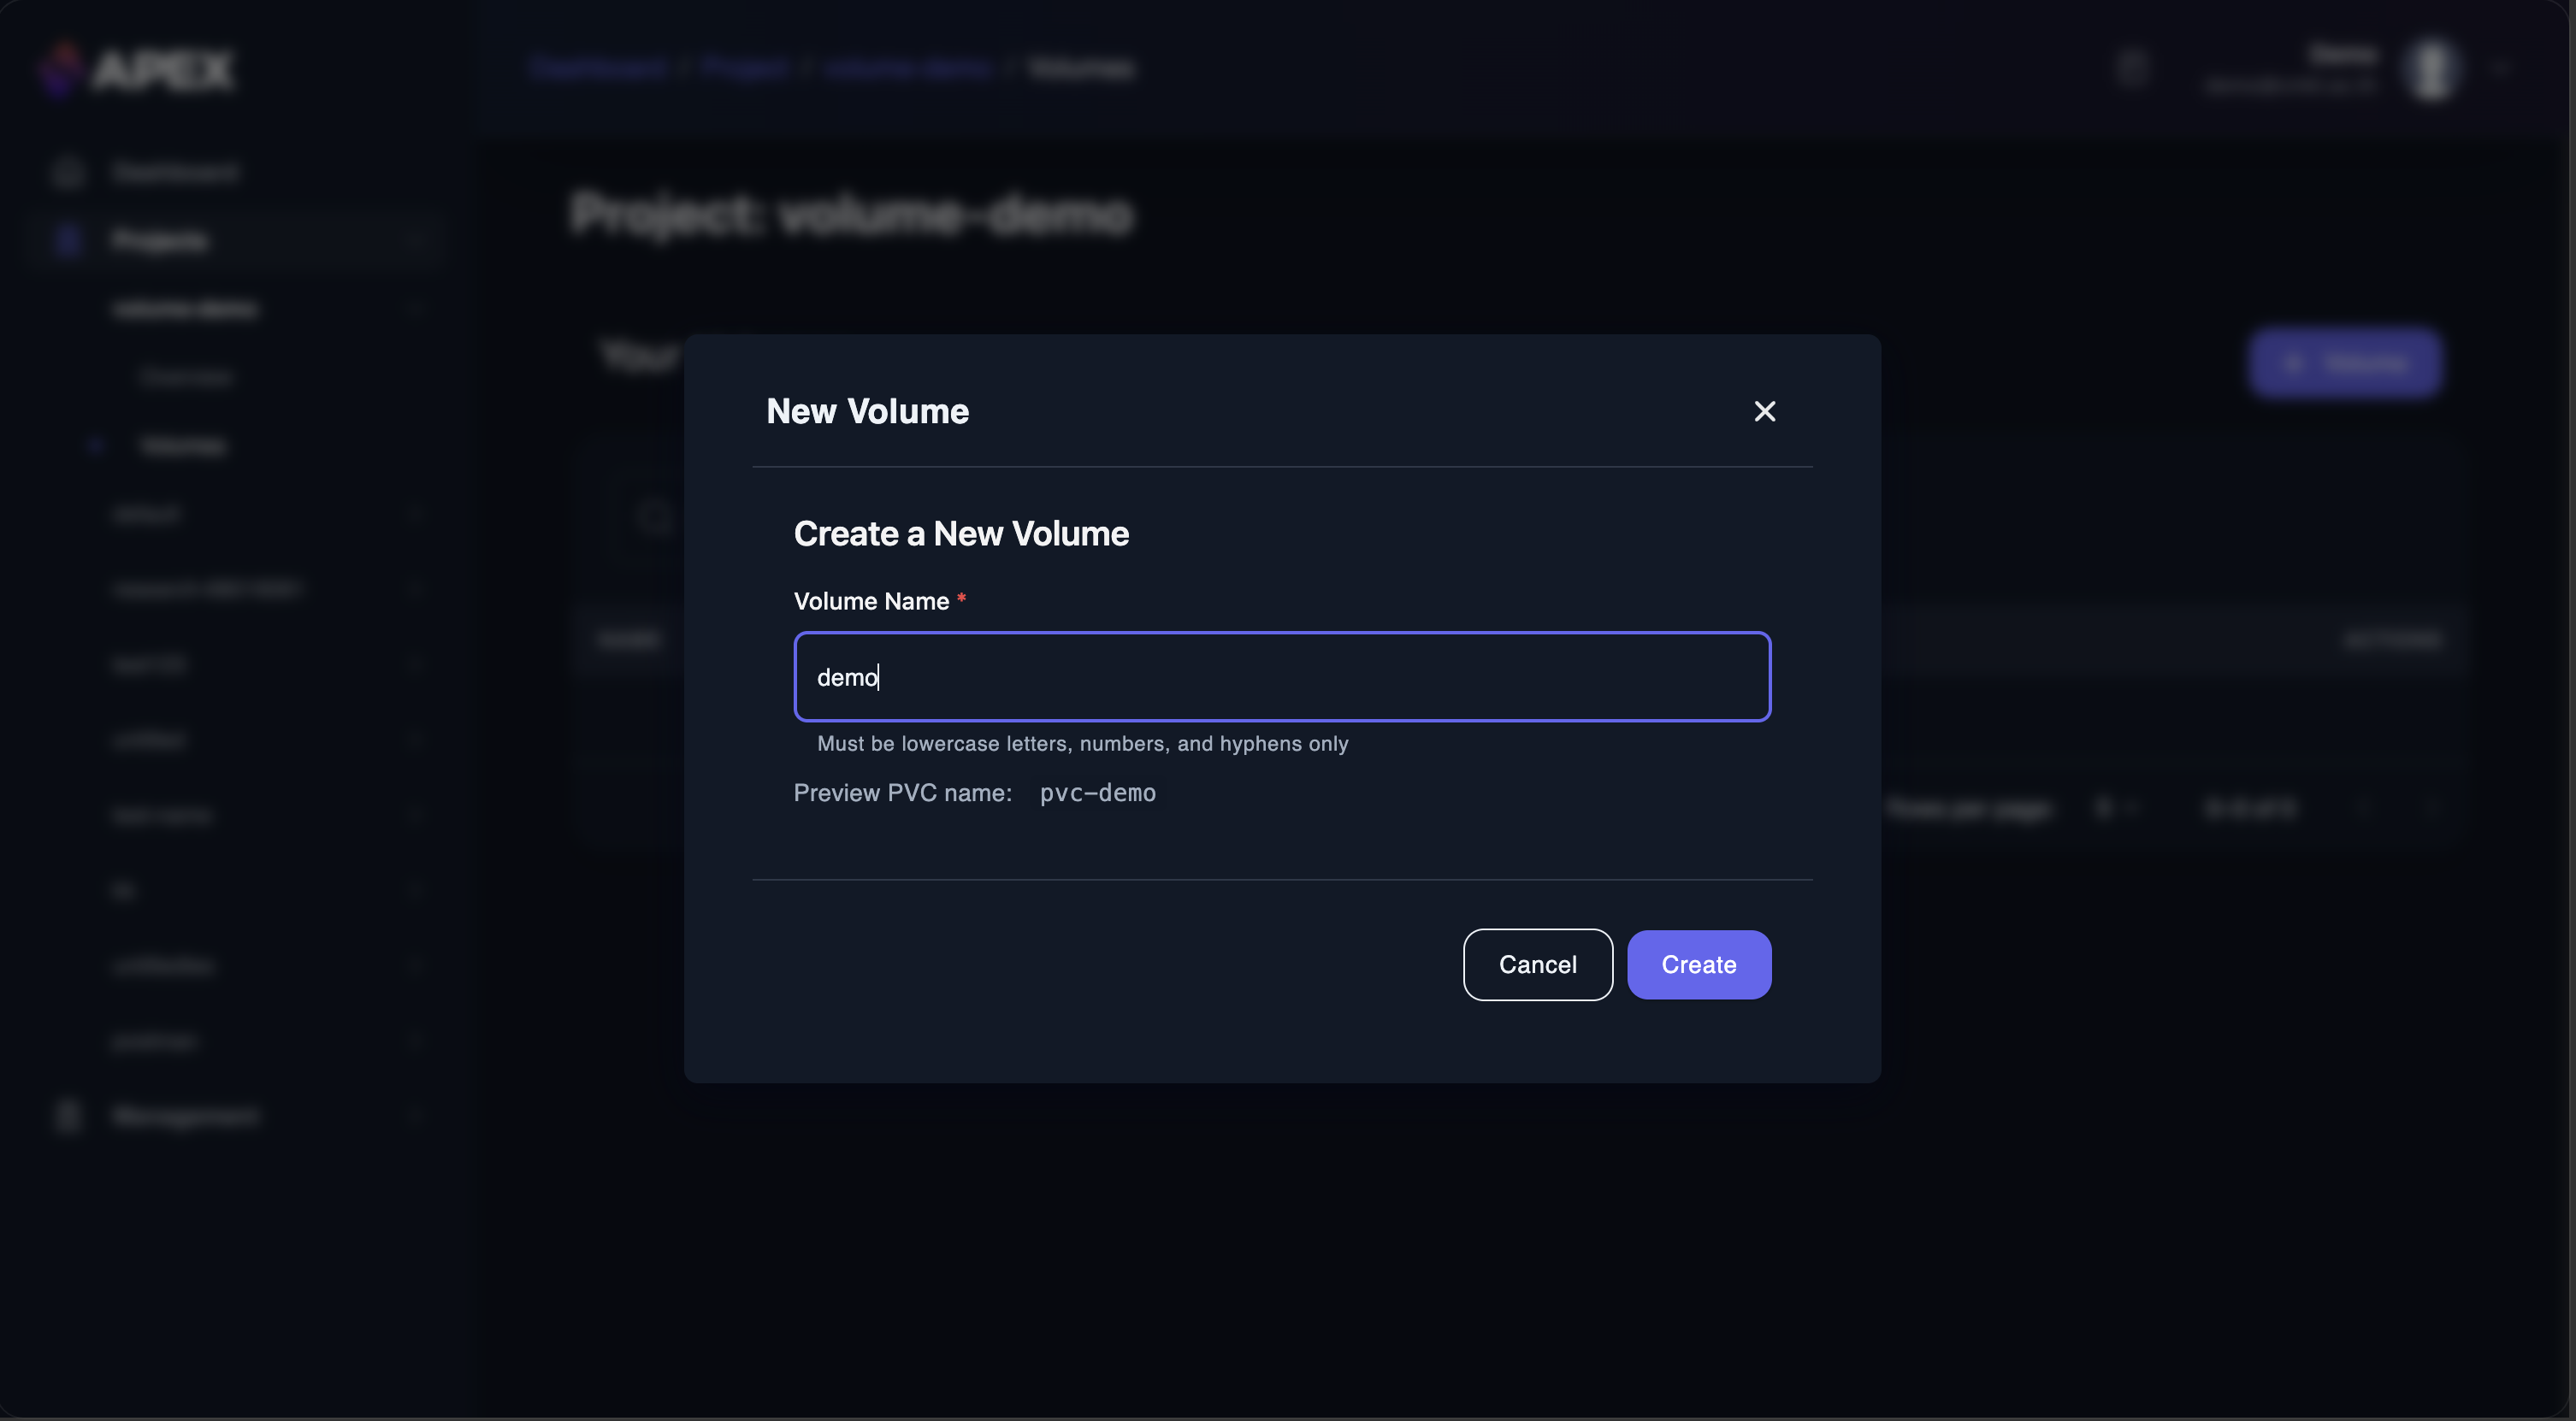
Using a volume in a task
Section titled “Using a volume in a task”-
In the create task menu, open the
Additional Volumessection.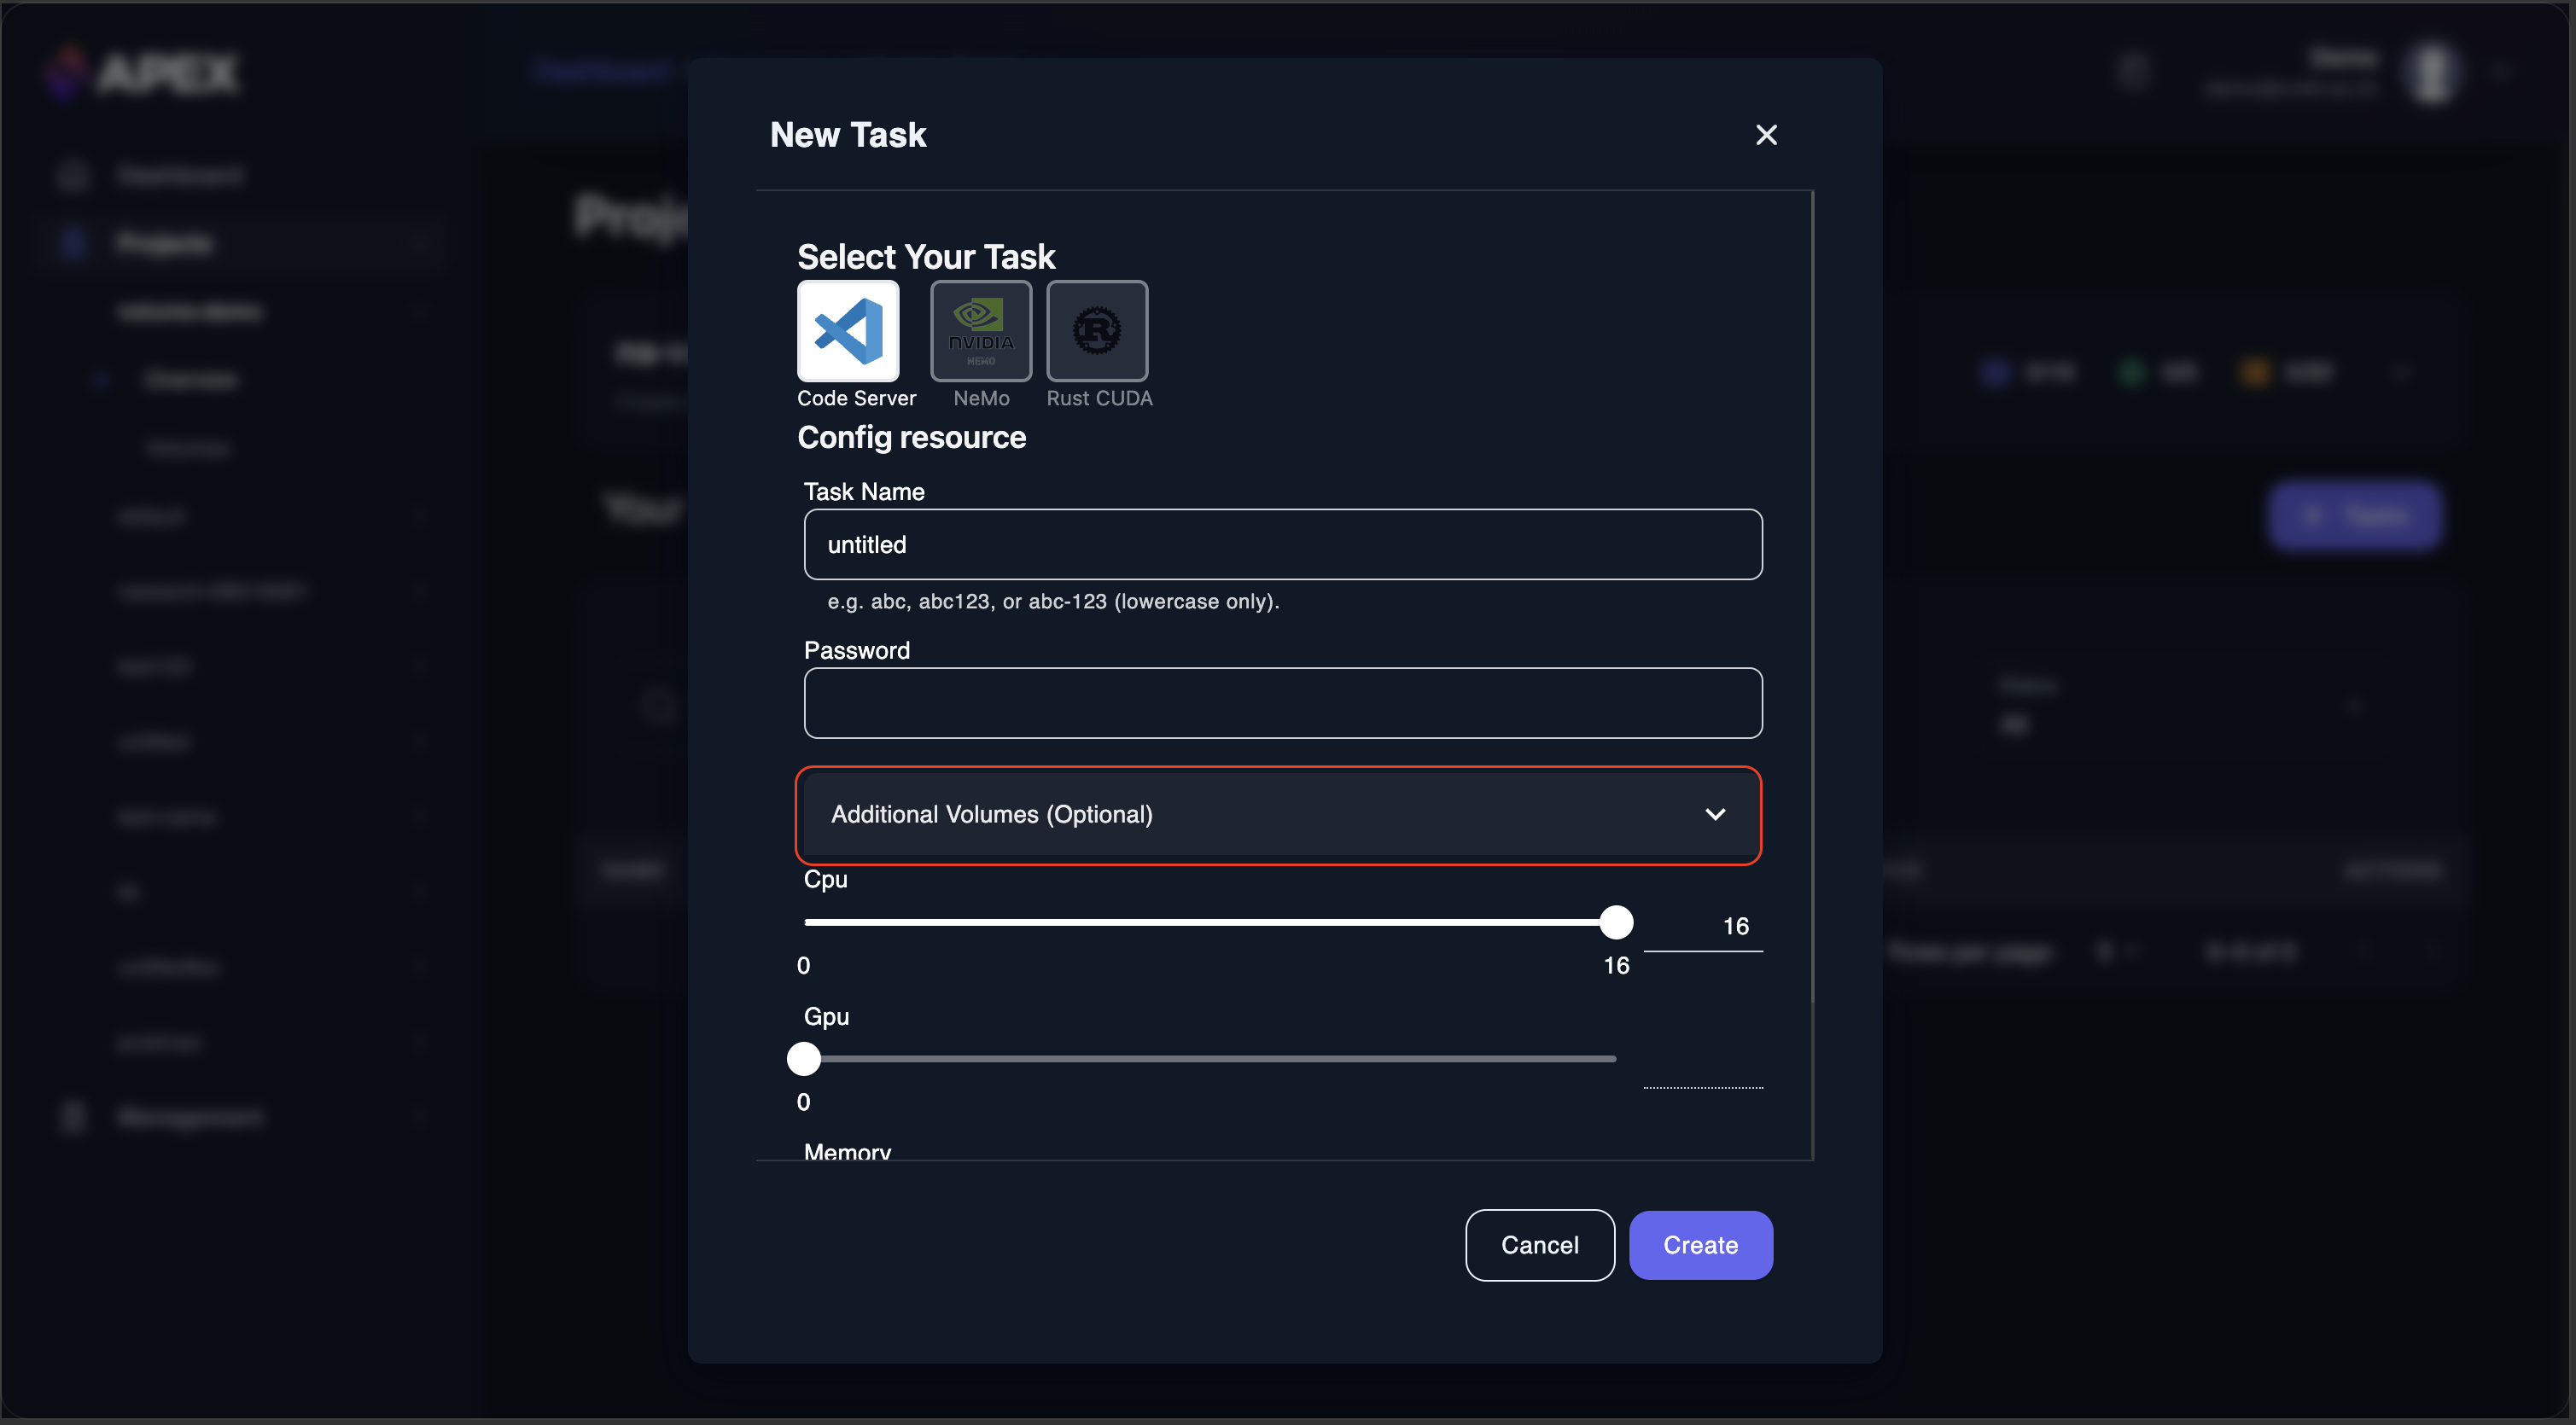
-
Select an existing volume, enter the mount path, choose the access mode (read-only or read-write), then click
Add.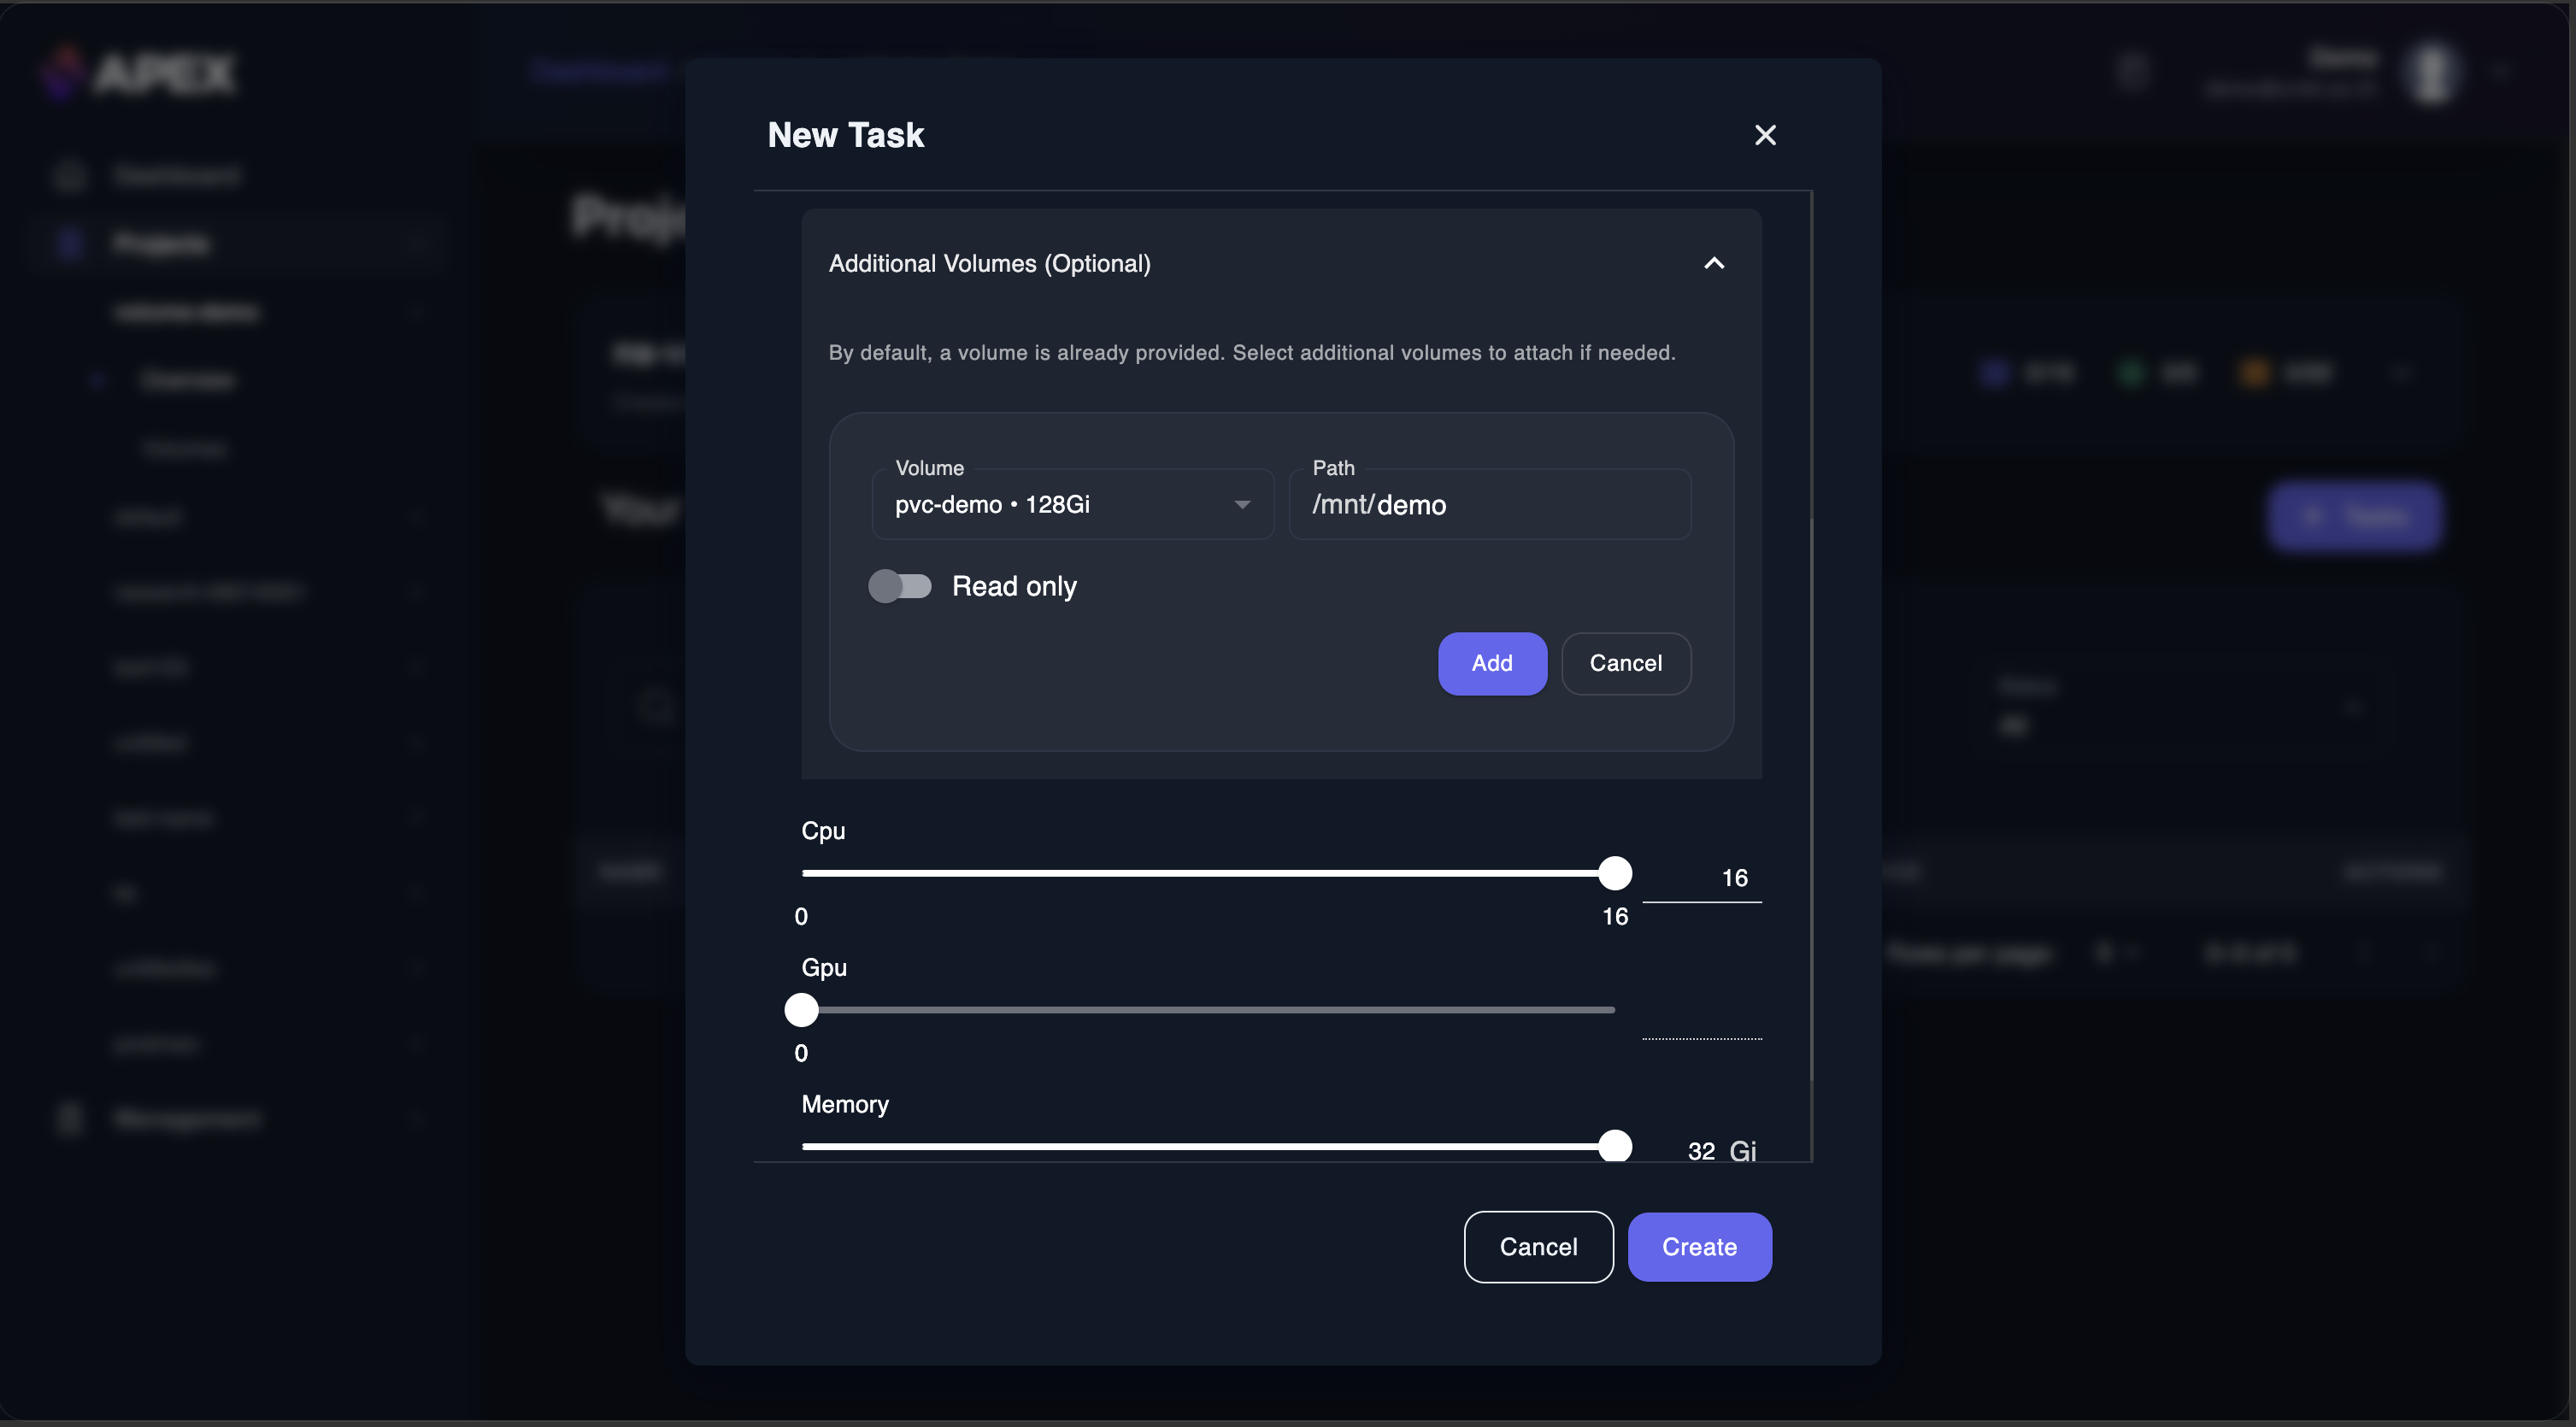
-
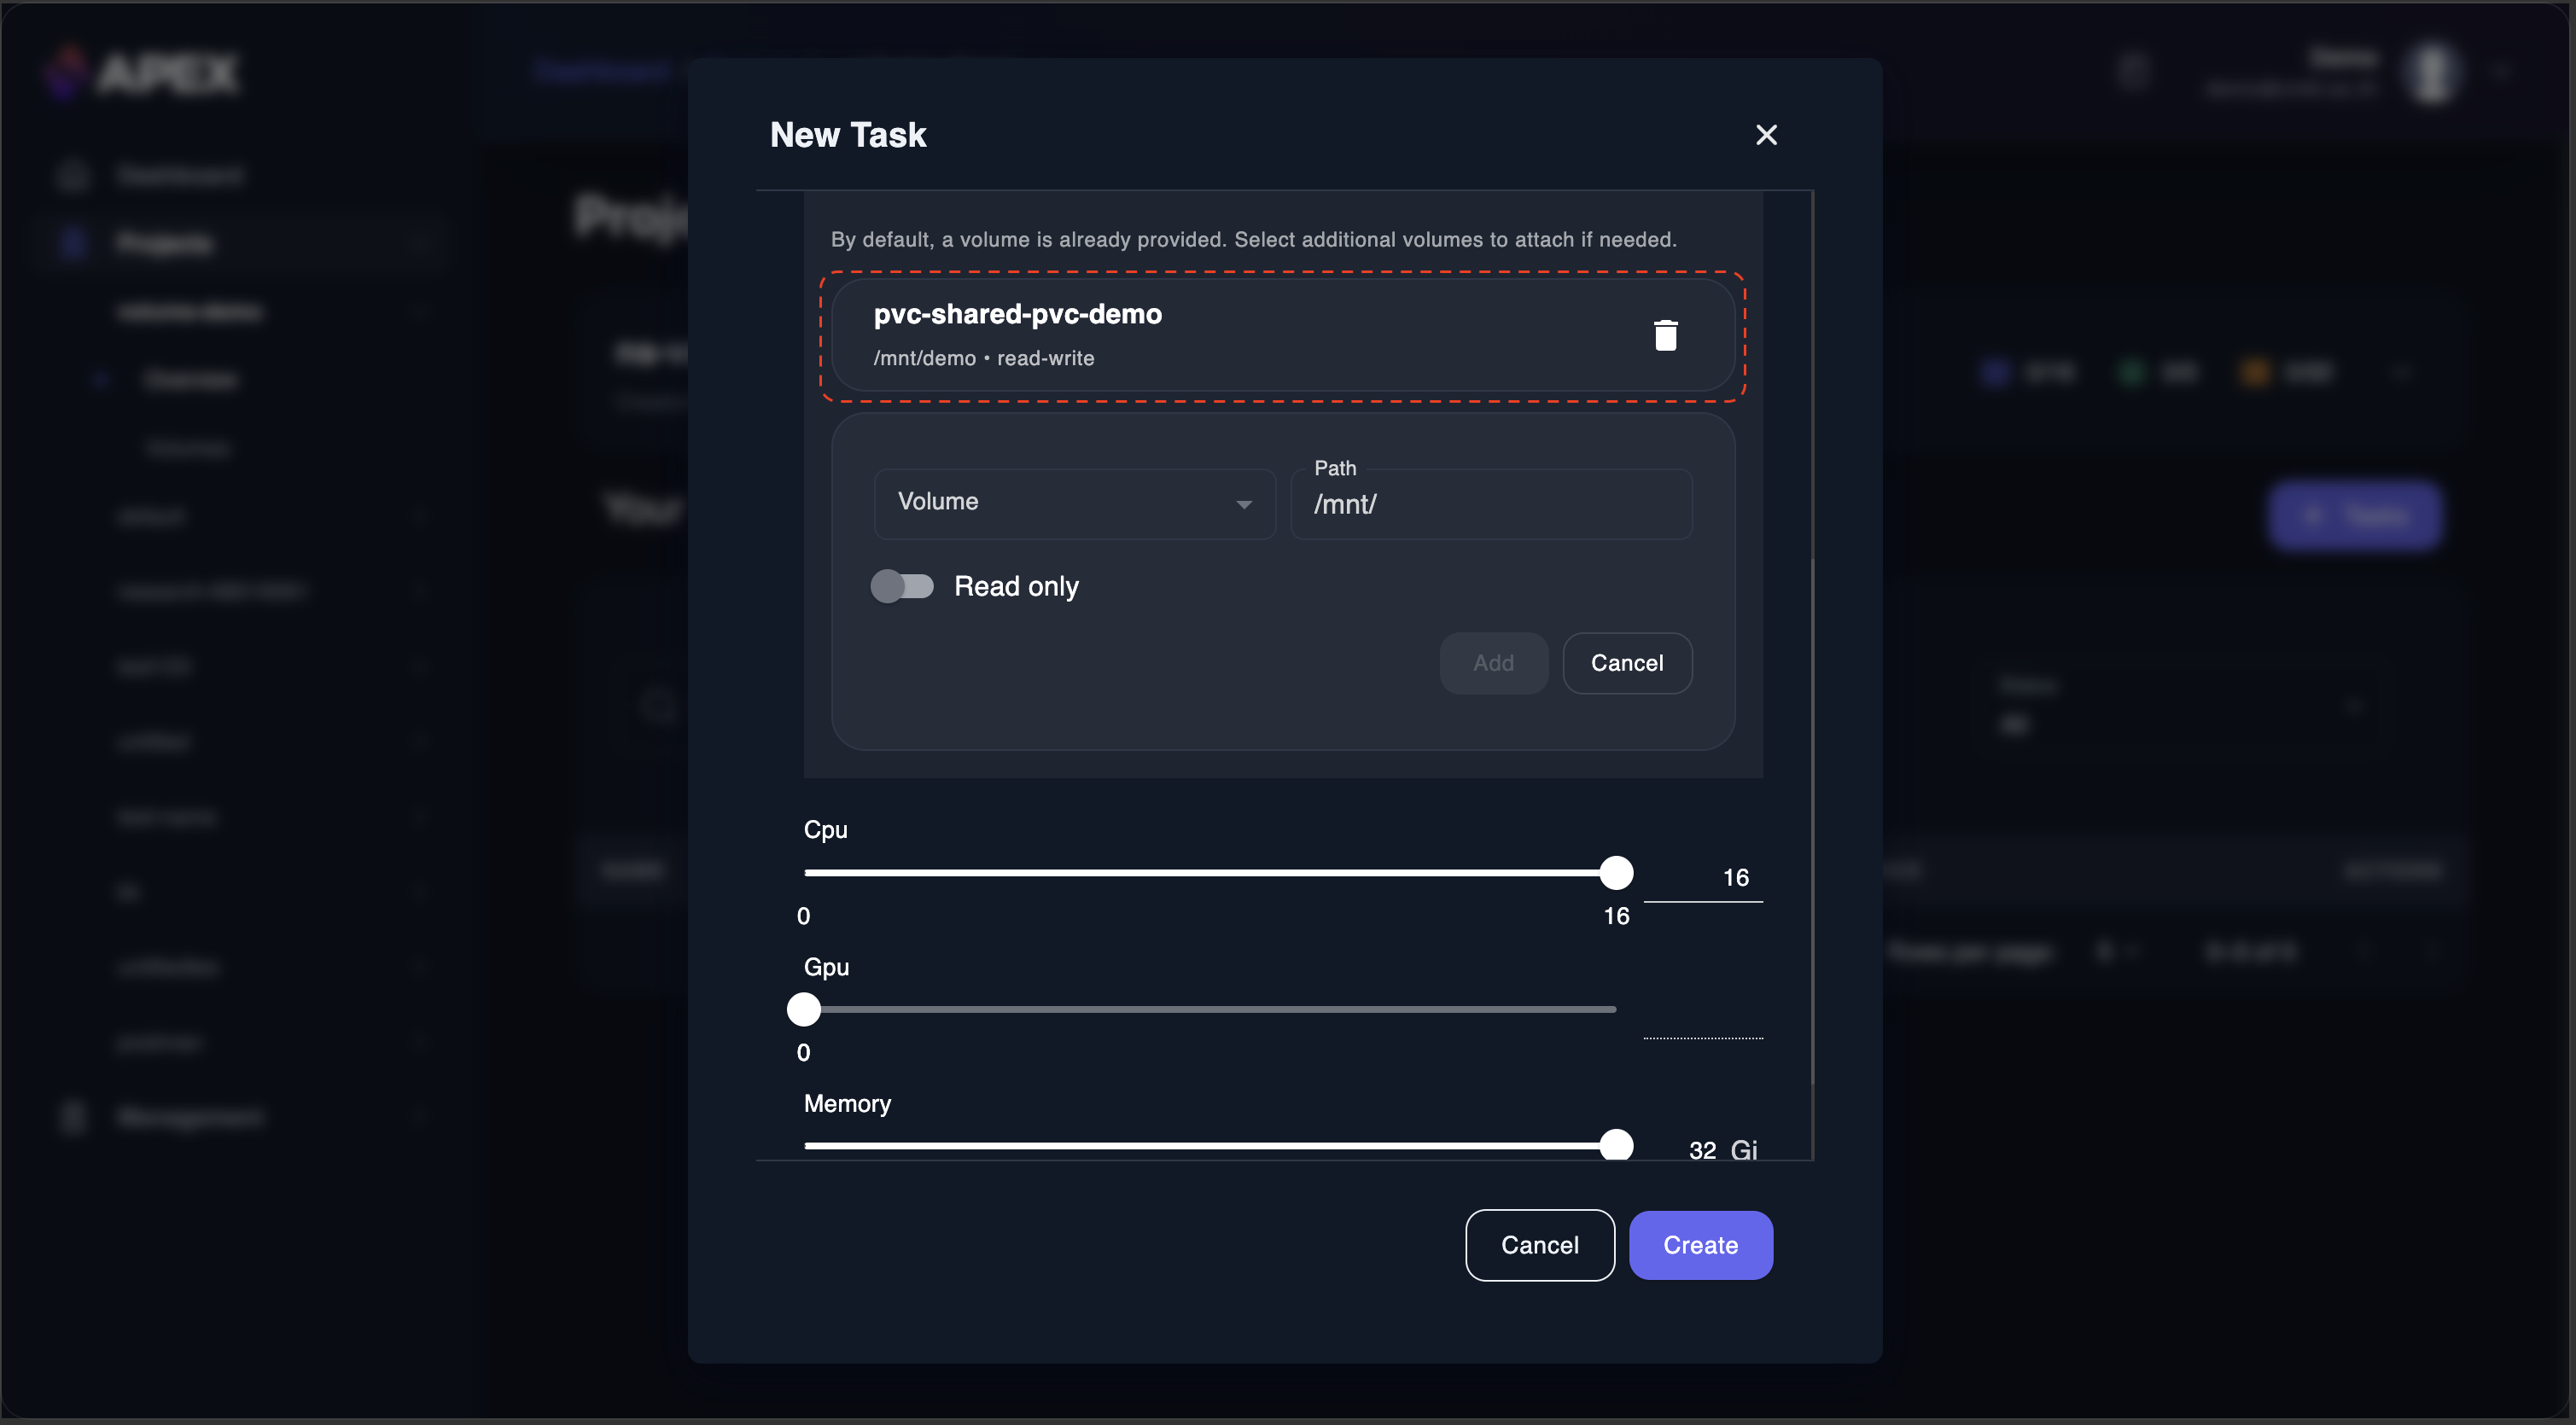
The attached volume is then shown in the list, as in the picture below.
Policy
Section titled “Policy”- Glider is still under development, if you encounter any issues on Glider please contact out support team (apex@cmkl.ac.th).
- We do not have any SLAs for Glider, please backup your data regulary
- Your task might be terminated by our system-admin, any files or scripts that want to be persistent, please use the dedicated volume.
- You may encounter a
Pendingstate due to our system resources limitation, if your tasks are critical please contact our admin.
Known issues
Section titled “Known issues”- Glider Task cannot run any superuser commands (sudo)
- Glider is running in containers, so if your projects require a virtual machine support, please contact our support.
- Some library/framework uses total CPUs of system as default value, in this case, it will cause a CPU throttle on your container.